Thursday, January 31, 2013

Kristen: Making Piping

As a somewhat-newbie to reenacting and sewing, I find myself constantly relearning different processes, slowing down so that I can do it "right." One thing that I have unintentionally missed in the past was piping...
A minor but beautiful detail (The Graceful Lady)

Luckily, I have wonderful Becky to answer my endless questions, so it wasn't too bad. Things I learned about piping? It was used to finish the collar of a dress. It was placed on the armscyes to strengthen the fabric and make the dress last longer. It could also go on the waist. Overall, a fairly obvious thing that I should not have missed. Now comes my lesson...

 An old bodice I tore apart for study
Here is the piping up close
And here it is torn out of the dress! ***Gasp

First of all, this whole cutting on the bias thing confused me. What do you mean, "cutting on the bias?" I had to learn what selvedge was, now I have to be opinionated when cutting???

Cutting on the bias just means to cut diagonally on the fabric so it doesn't fray. And let me tell you, these sewing people where not kidding when they said to cut on the bias. It totally works!

After you cut on the bias, pull out your 1/8 inch (about) wool or cotton yarn and lay it on top like so...
 My fabric was about 2 inches wide, but next time I'll go wider

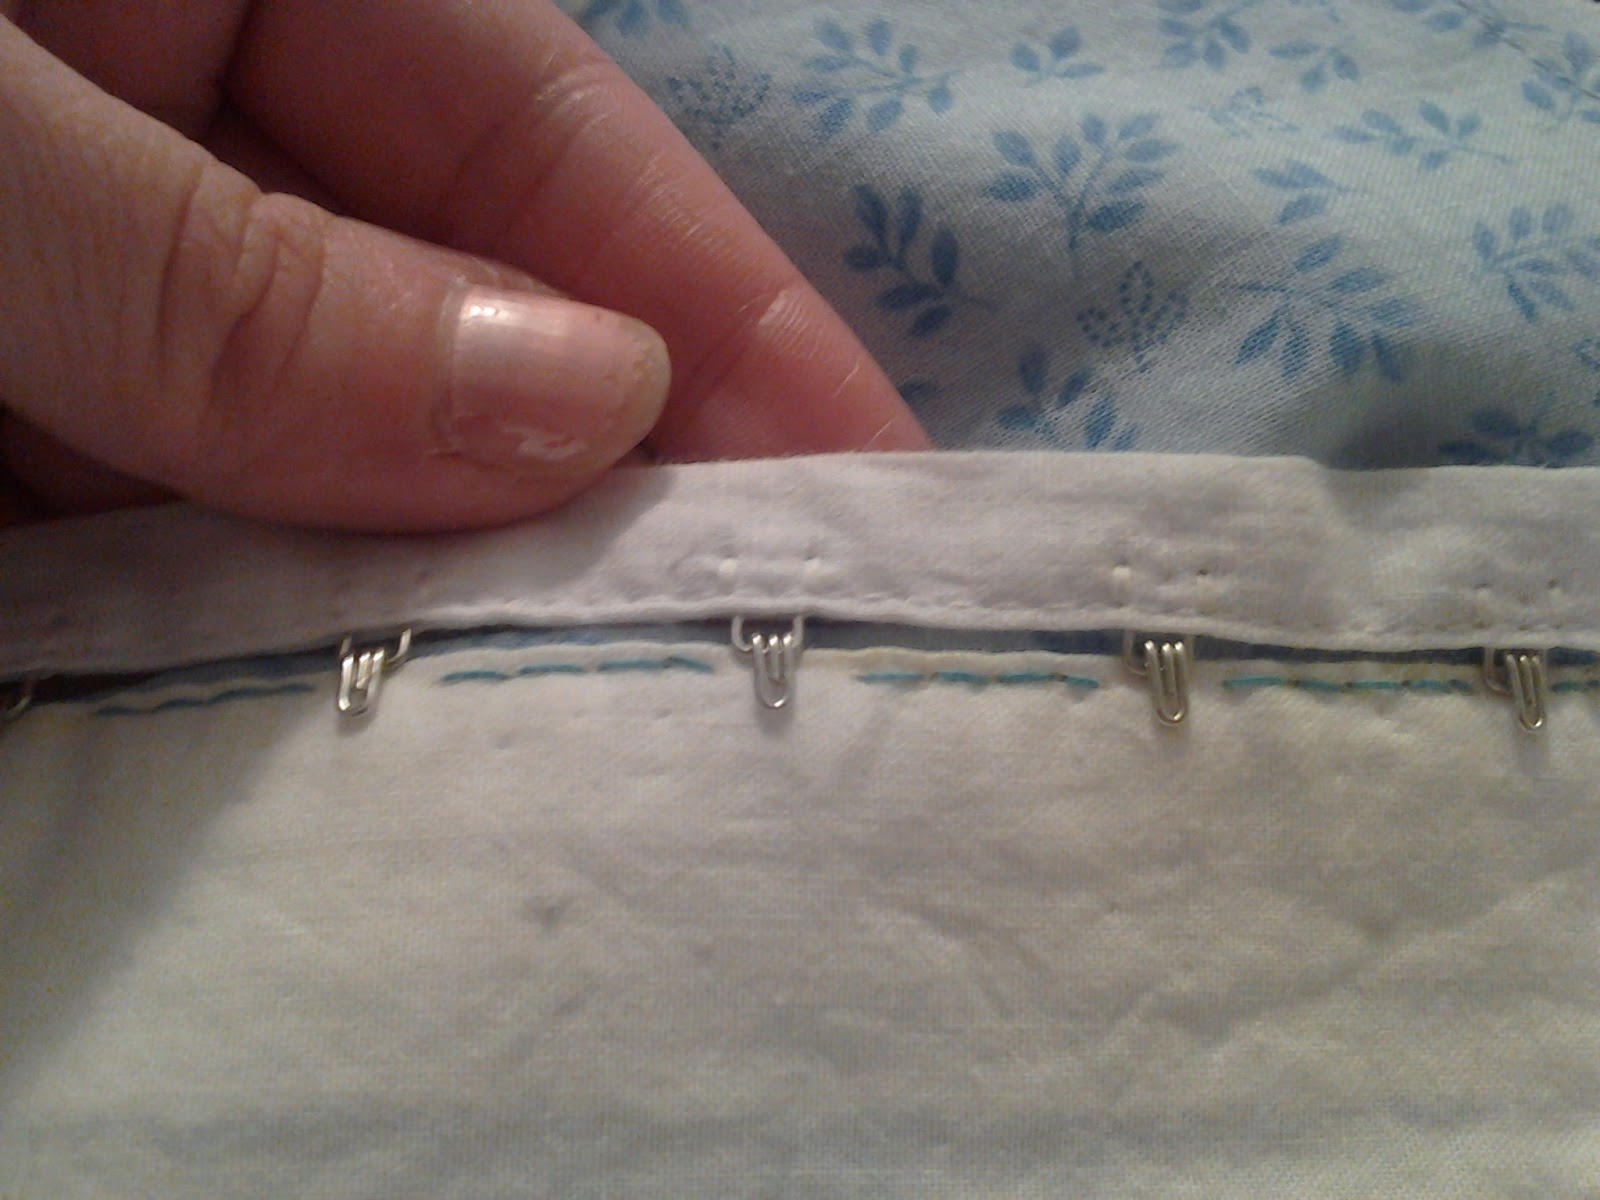
Next, fold the fabric over the yarn so that the yarn is at the fold. Proceed to pin...

The yarn is just underneath the pins in this pic

And then run a basic stitch as close to the yarn as possible. Mine was not too small, not too large. Just enough to hold the yarn in place. Voila! There you have piping!
 Not pictured: Me poking myself with a needle

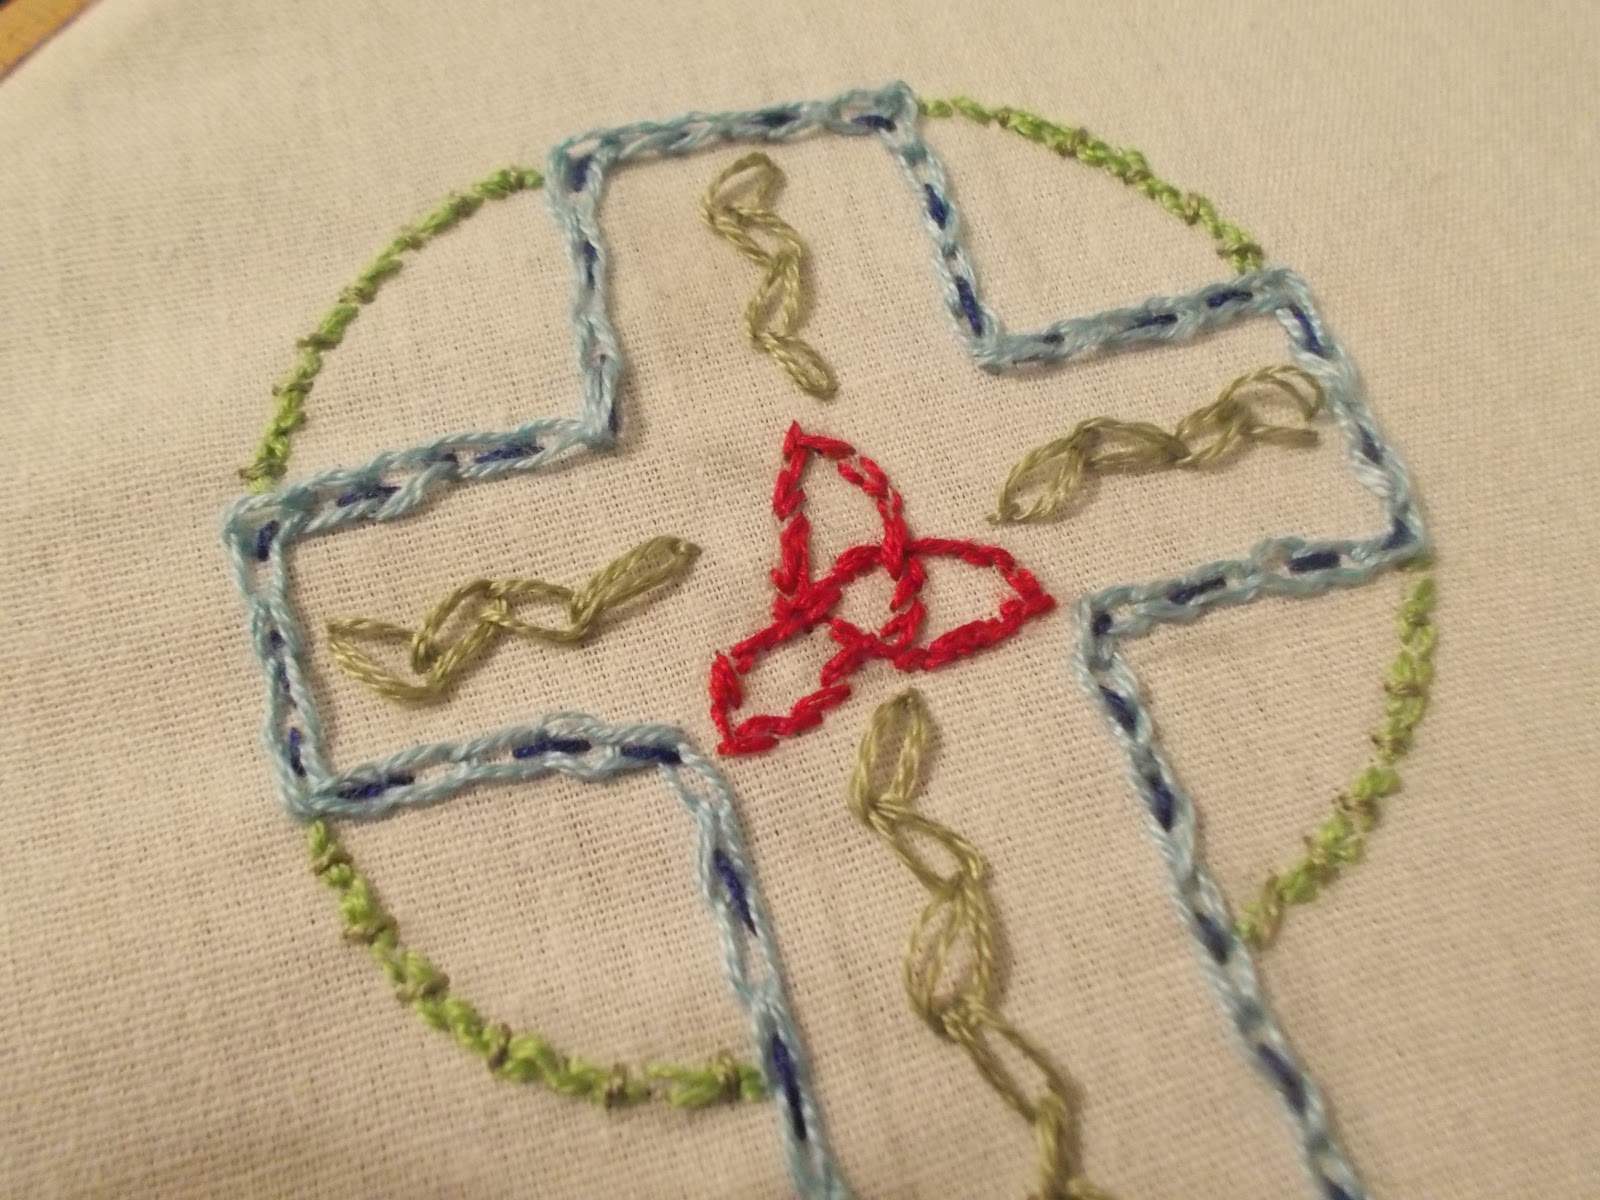
I'll show how to attach piping in another tutorial. In the meantime, here is my lovely work again!


 ~Kristen

Tuesday, January 29, 2013

Becky: Hook and Eye Tape Tutorial

Hello again!

Kris,Carrie and I have made great progress this week! Our sewing projects are being accomplished faster than any of us have imagined. It feels wonderful to have support and encouragement to continue sewing.

I have almost completed the custom dress I have been working on since our group started. Its only been a few weeks ago I bought the fabric. It takes me forever to decide on which fabric I want, what to do with the fabric, and the longest part of finishing a project for me to to work on it; it would usually take me a month for one dress!

Here is a tutorial on using hook and eye tape, which is SO much easier than placing, and sewing on hooks and eyes on its own. I highly recommend using hook and eye tape!

Step One: with your neckline pipped, but not finished, fold the lining and fashion fabric inward. *Keep fashion fabric fold protruding the lining to cover up hooks.*

Step Two: Tuck hooks into the two fabrics, hooking them on the lining fold. *Keep the hook and eye tape connected!*


Step Three: Do the same to the other side with the eyes

Step Four: Sew hooks on the lining but catch minimum fashion fabric to it does not move.

Step Five: Whip stitch the eyes. Dont forget to whip stitch inside the eyes too!

Then complete the look by tucking, folding and sewing the pipping on your neckline and or waist!

This was one technique that I wish I knew before making my first dress and I hope you have a better look on how to use hook and eye tape!

Love,
         Becky

Monday, January 28, 2013

Sew Along: Carrie, Kristen, and Becky

Another week we could all get together! I look forward to these days when we can all sit and focus on our individual projects. Fortunately, I have my camera on hand to document our progress...
 Becky finishing the hem on a dress
Carrie researching for her next project
 It can be very difficult to keep sewing during these long winter months. Since it is considered the "planning" season for reenactors, it is essential to start any projects that need to be completed by summer. The problem is usually motivation!
Seeing it come together makes it all worth it!
 Carrie working on the last of her chemise
It is interesting to watch three different levels of sewing all in the same room! Becky is making a dress for a friend's Civil War presentation, a lovely blue dress! I am working on my mourning dress, completely handmade. Meanwhile, Carrie finished up her chemise.

This next weekend is our group meeting, and we are excited to see everyone! Every day is one step closer to the reenacting season!
A sneak peek before my piping tutorial!


Tuesday, January 22, 2013

Kristen: Semi-sheer mourning dress Part 1

I love being able to write about what I've done for the week! Since this weekend I will be spent celebrating my boyfriend's birthday (oh, and parent-teacher conferences twice) I've decided to post a little early. This has certainly motivated me to continue my sewing during weeks when I normally wouldn't.

Whenever I sew a new dress, I try to learn from a mistake from a past sewing experience and apply the new knowledge. There are so many tiny details that I have missed in the past or ignored because I was impatient. Well, I have at least a basic wardrobe completed, and I have several months before the first "big" event. Why not take it slow? Here are a few things I will keep in mind:

1.   Sew by hand when possible.
2.   Press with an iron when instructed to do so.
3.   Open the armholes a bit because they're  usually too tight (I'm picky).

With these in mind, I began my new dress. If you're a relatively new seamstress, these photos can be very helpful! I know when I first started, any instructional pictures were gold!

First, I cut out the pattern that I had chosen from paper. I completed changed my mind and decided to recreat a pleated bodice, Past Patterns 701. It was the first pattern I'd ever done, so I was slightly nostalgic while pinning the paper to the fabric.

After cutting out all of my fabric, I laid it out on the floor to get an idea of how things would be pieced together. I am a very visual person, so this part is important!

Then I matched the white lining by the shoulder to the inside of the black fabric. I cut the lining a little bit, and then laid then on top of each other. After that, I folded over the selvage where the hook and eyes will be, pressing it with my iron. After that, it was a simple whip stitch, and I was done! (And by simple, I mean more complicated because I kept tangling my string)


 Once I finished, my impatient self returned and I started playing with the fabric on my dress form. The lighting is off, but I'm beginning to see a bodice! Just seeing this picture again makes me want to go back to my sewing room!

 And last but not least, I must share one of my "finds" from Haberman's Fabrics (which is just up the road from my house). While dodging old ladies with piles of fabric, I snagged a piece of something soft and silky from the remnants pile. Lucky I did before one of those women tackled me for it! (Only slight exaggeration). It was 100% Silk Duchesse, a half-yard piece. I think it will be used for the needle book I will be making soon. 
 I'm thinking a lovely white silk shell with blue glass beads, green leaf beadwork, and a soft cluster of grapes to one side. Am I not the most spoiled little thing ever? Any thoughts? (On my needle book, not my spoiled nature, though if you must...)


 ~Kristen~

Monday, January 21, 2013

Becky: Completed embroidered braces with tutorial

I've been working on my dad's braces for a while. In fact, they were supposed to be a Christmas gift last year or even the year before! This week I was finishing them at the sewing party. I'm happy another project is crossed off my list and dad is happy to be able to wear awesome braces for his wedding.
Embroidery comes easy for me, but I'd love to show you my technique!

1) Trace your pattern on parchment paper with a pencil
2) Place the tracing on the braces or on the latest work to continue.
3) Embroider through the fabric and paper
4) Finally remove paper by streaming paper and tearing.
I'm now working on a custom dress someone asked me to make and finish my 
corset.

I need your help deciding on which colors to use for my first Rev war dress!
Should I go with the pink jacket with a blue shirt or blue jacket with pink skirt?

With Love,
            Becky!

Friday, January 18, 2013

Kristen: My upcoming projects

I can't believe it has been less than a week since our sewing party! I feel that a week of teaching, master's classes, and just the general ho-hum of winter has made the time fly by. While it is *another* step closer to our summer reenactments, I am a bit anxious to start my new projects. Perhaps writing out my to-do list for the next few months will inspire me. Here goes:

Big projects:
1.   Black semi-sheer mourning dress, with open coat sleeve based on Past Patterns and a gathered bodice. Since I will be in half mourning, I can use my white sleeves and wear a white collar. I'm looking forward to the sheer look for summer!


  2.   Blue floral day cotton dress, with coat sleeve and basic gathered bodice, similar to the Peachtree         Pattern. I didn't need another day dress in the least (I have two sheers and a nice workdress already) but the fabric called out to me! I found it at The Dressmaker's Shop at the last reenactment and I do believe she has 13 yards still in stock.


Small Projects:
1.   Rosette belt, similar to many I have seen already
2.   Paper flowers for my bonnet. My Dad bought me a book with so many ideas!
3.   Silk sewing case from the same book. I haven't yet decided on the shape.

If you haven't noticed, I have a tendency to fill up my time with many projects and activities. These are just my reenacting projects; I did not include my t-shirt blankets, embroidery, or the many buttons and stitches to repair daily life. If only there could be two of me!

For the short term, I will try to cut the fabric for my mourning dress in the next week or two. As for tonight, I think I'm going to relax and just embroider in front of the tv. I am only human...

Saturday, January 12, 2013

The First Post: Kristen, Carrie, and Becky Sew

For out first post, we have decided to meet and start with a few different projects. Here, Carrie is finishing up a chemise...

 Don't thread your finger!

Carrie, who is at the beginner level of sewing, today accomplished the following:
1. Learned how to thread a bobbin
2. Sewed together yoke
3. Felled a seam
4. Made gathers on the yoke of the chemise
 
 Carrie's accomplished gathers

Carrie's quote of the day? "I'm confused." Luckily, Becky is a talented seamstress (and Kristen is talented at not being a good helper...)

I don't get it!
Much of Becky's work included helping Carrie and I with smaller projects, but she did manage to work on a pair of braces for her father. They have been a two year project, but will look amazing at the next Civil War reenactment!
  I wish I had daughters to sew for me!

Becky has made it very clear that Carrie MUST finish the chemise before she leaves, even if it takes until the wee hours of the morning! Unfortunately I am not as dedicated to my sewing, and Becky does complete beautiful work!
 Becky modeling the latest design from Paris...
As for myself, I started working on an embroidered cross design. A fellow English teacher at the school I work at asked me to create a communion stole and banner for his son. I had planned on using a basic felt design, but found it to be lacking in...something. So I jumped on board the embroidery bandwagon!

 I look more tired than I feel!

Crosses seem fairly easy, but I found it difficult to focus on keeping lines straight. I suppose that will come with experience!

 Note the Celtic design; they're Irish!

Our next meeting is planned for February 16th, which will take place at my house with the 21st Michigan. I have not planned a group sewing event before, but based on my experience, it has been quite fun! 

In the meantime, Carrie, Becky, and I plan on contributing to the blog at least once a week. Since we are all working on our own projects, you will see a beginner, novice, and experienced seamstress' perspective of things!

On My Bookshelf: December

December has been a really rough month. Between what happened in Oxford (not far from where I live...) and just the general pandemic issues,...